For any streamer aiming for the top, sound quality is as crucial as video clarity. The secret to crisp, clear audio is picking the right microphone. In this guide, we'll introduce you to the best microphones for streaming and offer insights on how to choose the perfect one for your setup. Let's find your mic match!
5 Best Microphones For Streaming
1. Shure SM7B
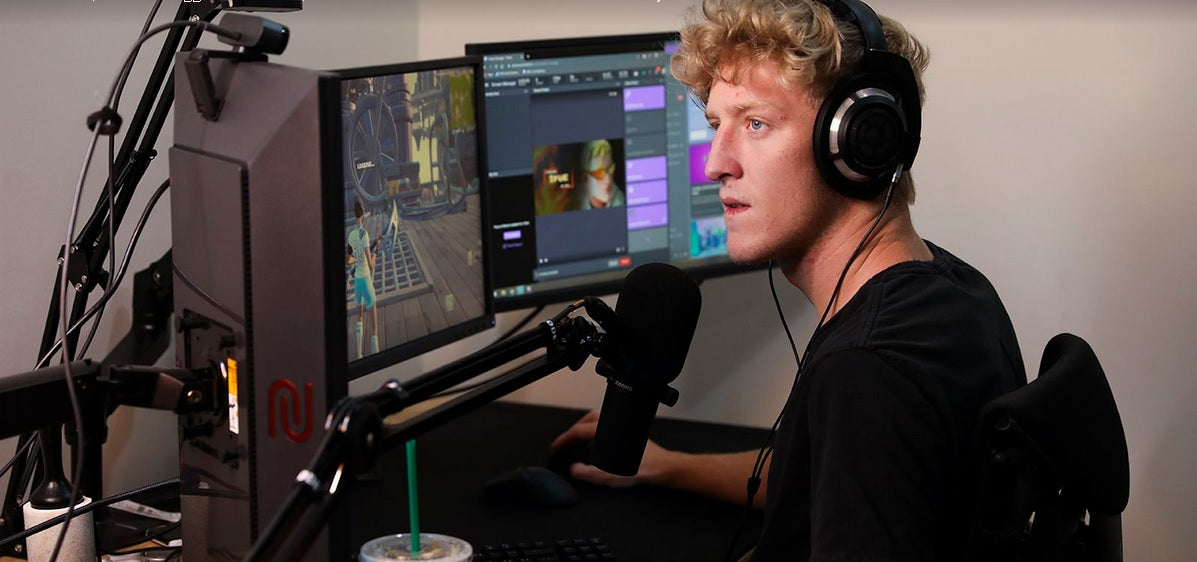
A go-to for professionals and seasoned streamers, including big names like Shroud and Joe Rogan. This microphone excels in delivering clear audio while minimizing background noise, thanks to its cardioid pattern. Keep in mind, it uses an XLR connection, so it may require additional equipment to connect to your setup.
2. Blue Yeti USB
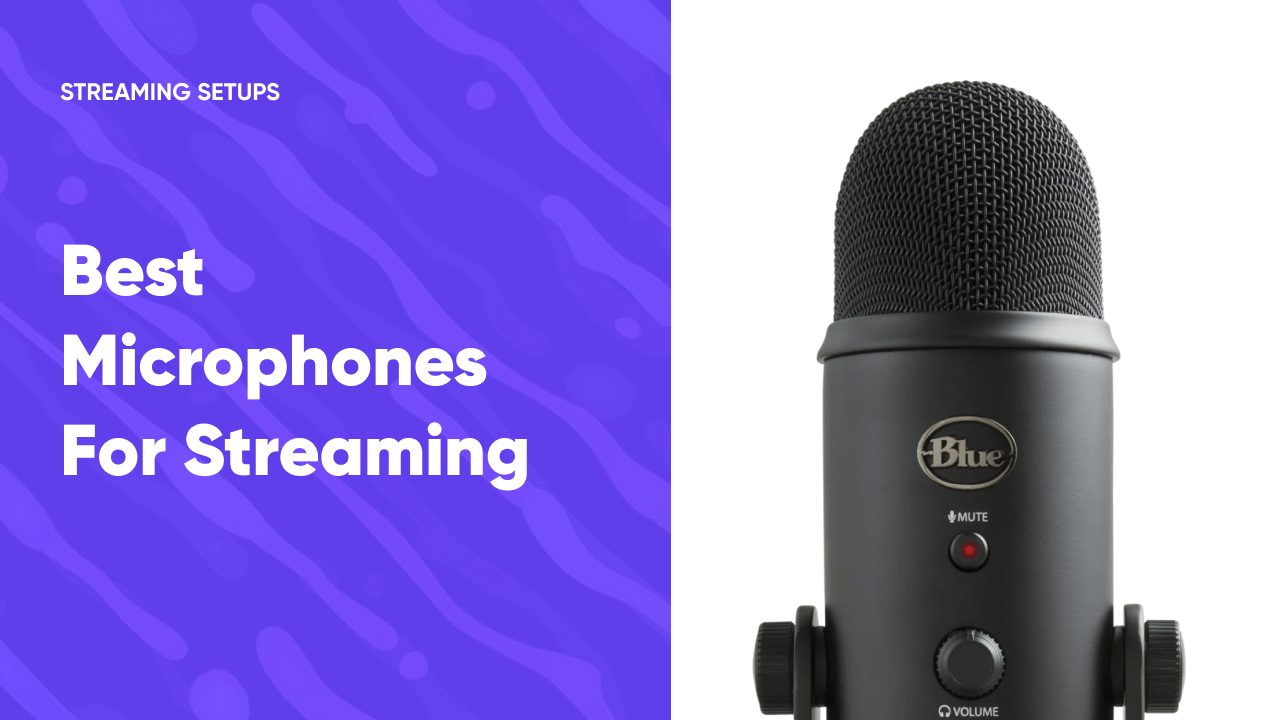
Renowned for its versatility and ease of use, the Blue Yeti is a favorite among streamers of all levels. It supports multiple recording patterns, making it adaptable to various recording situations. Its USB connectivity means it’s ready to use out of the box, complete with onboard controls for hassle-free adjustments.
3. Elgato Wave 3
Tailored for streamers, this microphone combines quality audio capture with user-friendly features. It boasts a cardioid polar pattern for focused recording and comes with software that simplifies audio mixing. USB connectivity ensures it’s both easy to set up and integrate into your streaming environment.
4. Samson G-Track Pro
This microphone is a versatile performer, capable of handling both vocal and instrumental recordings. It features multiple polar patterns for flexible recording and includes an integrated instrument input. USB connectivity allows for straightforward setup, making it suitable for streamers who also venture into music or podcasting.
5. Zalman ZM-Mic1
For those on a budget, this microphone provides a cost-effective solution without compromising on audio quality. It’s designed for easy attachment to headphones, offering a simple way to improve your audio for gaming or casual streaming. Its omnidirectional pickup pattern ensures your voice is captured clearly.
How To Choose a Microphone for Streaming
Understanding the nuances of your streaming microphone is key to elevating your content. Let's demystify the technical specs and what they mean when choosing a mic for your setup:
Frequency Response
This spec tells you the range of sounds your mic can capture, measured from the deepest bass to the highest treble in Hertz (Hz). Ideally, you want a mic that covers a wide range to ensure it picks up the full spectrum of your voice. While crucial for music, a broad frequency response also adds depth to spoken audio for streamers.
Polar Pattern
Polar patterns describe how a mic picks up sound, influencing how your voice is captured amidst background noise:
-
Omnidirectional: Captures sound from all directions, great for a natural ambiance but may pick up unwanted noises.
-
Bidirectional: Picks up sound from the front and back, ideal for interviews or co-hosted streams.
-
Cardioid and its Variants: Focuses on sound from the front, minimizing background noise. Most streamers prefer this pattern for its clarity and focus.
-
Shotgun: Highly directional, capturing sound from a specific area while ignoring the rest, useful in controlled settings.
For streaming, cardioid mics are often recommended for their ability to focus on your voice and reduce ambient sound.
Connection Method
How your mic connects to your system impacts setup complexity and audio quality:
-
USB Microphones: Simple to use, just plug into your computer and start streaming. They're cost-effective and portable but may offer less control over sound quality.
-
XLR Microphones: Provide professional-grade audio and customization but require an audio interface for connection. They're pricier and need a more complex setup.
-
TS/TRS/TRRS: Common for mobile or portable use, these offer straightforward connectivity but might not deliver the audio quality of USB or XLR mics.
Choosing between USB and XLR comes down to your budget, technical comfort level, and how much you value audio quality. USB mics are great for straightforward, quality streaming, while XLR setups cater to those seeking the highest audio fidelity and customization.
Streaming Microphone Accessories

On top of a dedicated microphone, optimizing your streaming audio might not always require extra gear, but a few accessories can significantly enhance the usability and sound quality of your mic:
-
Microphone Boom Arm: Adding a boom arm to your setup lets you adjust your microphone's position with ease, keeping it at the ideal distance from your mouth for clear audio capture. This not only helps reduce any noise that might be picked up by the microphone but also keeps your workspace tidy and professional-looking. It's a favorite among streamers for its functionality and sleek appearance.
-
Microphone Shock Mount: Vibrations can be an audio nightmare. A shock mount guards your microphone against unwanted vibrations and noise from your desk or floor, ensuring that your audio remains pristine. While not essential, it's a smart investment to safeguard against the unexpected bumps and knocks that can occur during live streaming.
-
Microphone Pop Filter: Plosives, like the hard "p" and "b" sounds, can cause peaks in your audio, distorting the quality. A pop filter sits between you and your mic, softening these sounds for a smoother listening experience. It's a simple addition that can make a big difference in audio clarity, though be mindful of its placement to avoid obstructing your view or interaction with your audience.
Best OBS Microphone Settings
Dialing in the perfect OBS settings can take your stream's audio from good to great. Here's a quick guide on optimizing your microphone settings for a crystal-clear broadcast:
Noise Gate
A noise gate cuts out background noise when you're not speaking, making your stream sound cleaner. Set the CLOSED threshold to just above the ambient noise level you see in OBS's mic meter. The OPEN threshold should be about 8 dB higher to ensure your voice comes through clearly without capturing low-level noise.
Noise Suppression
This setting helps remove constant background noise like fan hums or PC buzz. Add this filter and adjust the dB level to be slightly below your voice's usual level, aiming for a 5-10 dB reduction. This minimizes background noise without affecting the clarity of your speech.
Compressor
The compressor evens out your voice's dynamic range, softening the loud parts and boosting the quieter tones. This prevents sudden volume spikes from startling your audience. A ratio between 3.00:1 and 4.00:1 typically works well, maintaining natural-sounding speech without overcompression.
Limiter
To prevent distortion from unexpectedly loud sounds, use the limiter. Set it to activate at -2 dB to catch and smooth out any audio peaks that could cause clipping, ensuring your voice remains clear at all times. Adjusting the release time to around 60 milliseconds can help the limiter react smoothly to sudden volume changes.
Implementing these settings in OBS can significantly improve your stream's audio quality, making it more enjoyable for your audience and giving your content a more professional edge.
Final Thoughts
Embarking on your streaming journey with the right microphone and settings can transform your content, making it resonate more profoundly with your audience. From understanding the core specifications of microphones to choosing the perfect one for your setup, and fine-tuning your OBS settings for optimal audio quality, every step is a stride towards crafting a more engaging and professional streaming experience. Remember, the key to great audio lies not just in the gear you choose but in how you use it. As you continue to explore and adjust, your unique voice will become clearer, more powerful, and unmistakably yours! Happy streaming!


